Data breaches seem prevalent these days, leaving our increasingly connected lives at the mercy of corporations that might want to cut corners. Want to take back control of your data? Read on

Representation Pic
Data breaches are just the tip of the iceberg. Companies are now leveraging your personal images and data to train AI, often without your explicit consent. The option to exclude your data is buried deep within a labyrinth of menu options. Even if some services claim not to use your images for AI training, their policies can change at any time. This is where TrueNAS comes in.
ADVERTISEMENT
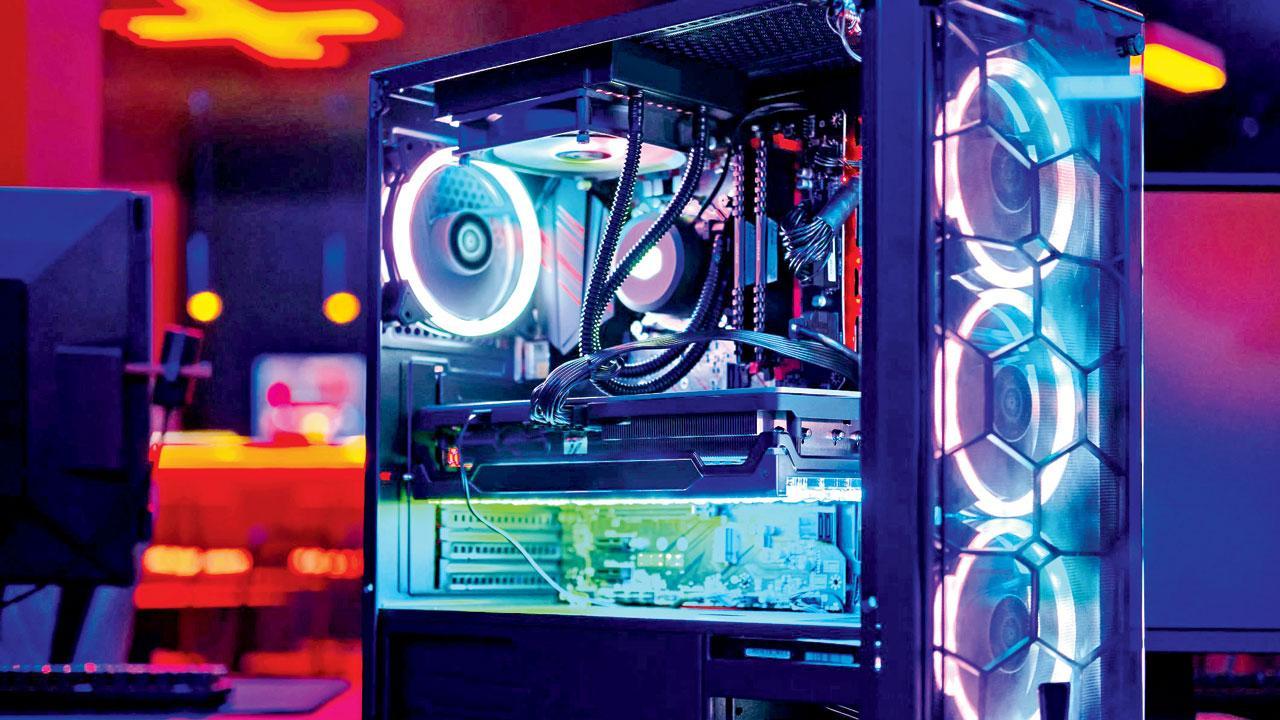
TrueNAS is an open-source NAS (Network Attached Storage) software that you can run on old hardware. This means you can buy or use an existing old computer, load it up with as many disks as it can handle, and then use TrueNAS to access it from anywhere. The best part is that it is free for home users.
What exactly is a NAS?
Network Attached Storage is pretty much everything it advertises to be. It is on the network and it has attached storage that you can access via the said network. There are many software packages available to use for this purpose. However, TrueNAS offers the most bang for the buck, mostly because it is free for non-enterprise users like us.
TrueNAS
Installing TrueNAS is a straightforward process. You’ll need a computer with a minimum 8GB of RAM, a boot device like an SSD or HDD drive (16GB minimum), Ethernet (LAN) or WiFi, a 2GB USB Stick (for installation), keyboard, mouse and a screen. With these basic requirements, you’re ready to take control of your data.
You have to download the latest ISO image of TrueNAS from their downloads section. Then, write it to your installation USB drive with a software called Balena Etcher. Boot the PC using the USB with TrueNAS on it. If you need help booting your PC from USB, search Google for specific instructions for your motherboard or computer brand.
Follow the NAS installation instructions. It must be noted here that the Boot drive selected for TrueNAS cannot be used as part of the share, so make sure you are using the drive with the least amount of space, preferably 128-256GB SSD or NVME drive. Also, remember the password and login because you will need it later to configure the NAS.
Once installed, remove the installation drive and reboot. You should see a FreeBDS text screen and an IP address. Note down the IP address and connect to it via a web browser on a machine on your network. Your laptop or even your phone should work for this.
You will have to enter the set username and password in the web browser. That’s it: TrueNAS is ready. The TrueNAS website has various tutorial videos explaining how to configure everything on the program.
Plugins
Plugins are the true genius behind TrueNAS. The first and the most essential install is NextCloud. It lets you use and backup your photos like you do with Google Photos. You can edit the pictures, share albums and view them in tiles. It also has Nextcloud Office where you can create and edit documents directly from anywhere using your personal cloud. You can also share apps with everyone in your family, such as Calendar, Contact lists, Mail, shared notes, and tasks. It can replace the most commonly used applications on your phone with these apps that give you complete control over your data.
If you are looking for a media server then Truenas has both Plex and Jellyfin support. You can even add an advertisement blocker, a music-playing server, Torrent downloading service and many more. A complete list is available on the TrueNAS server website.
 Subscribe today by clicking the link and stay updated with the latest news!" Click here!


